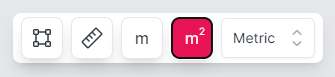
Understanding the dimensions of the objects within scanned 3D models is important for various project stages. Metaroom Workspace offers a basic measurement functionality to empower users to revisit their scanned 3D space and obtain measurements with the following options:
- Area Measurement Tool – use this feature to draw the area you want to measure manually. By simply snapping the room element’s boundaries, you can see the total area measurement of the selected space.
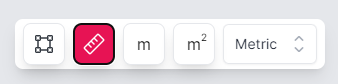
- Measuring Tape – you can manually measure point-to-point distances within the scanned space by selecting this feature.
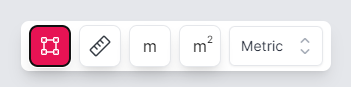
- Outside Dimensions of model elements – this functionality provides you with the outside measurements of selected room elements (e.g., walls, windows, etc.).
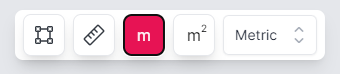
- Area of model elements — by activating the “Area” tool, users can select the room walls or objects and see the total area measurement. If the selected room includes openings like doors or windows, you can see the total area, opening area, and net area measurements.
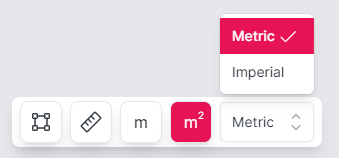
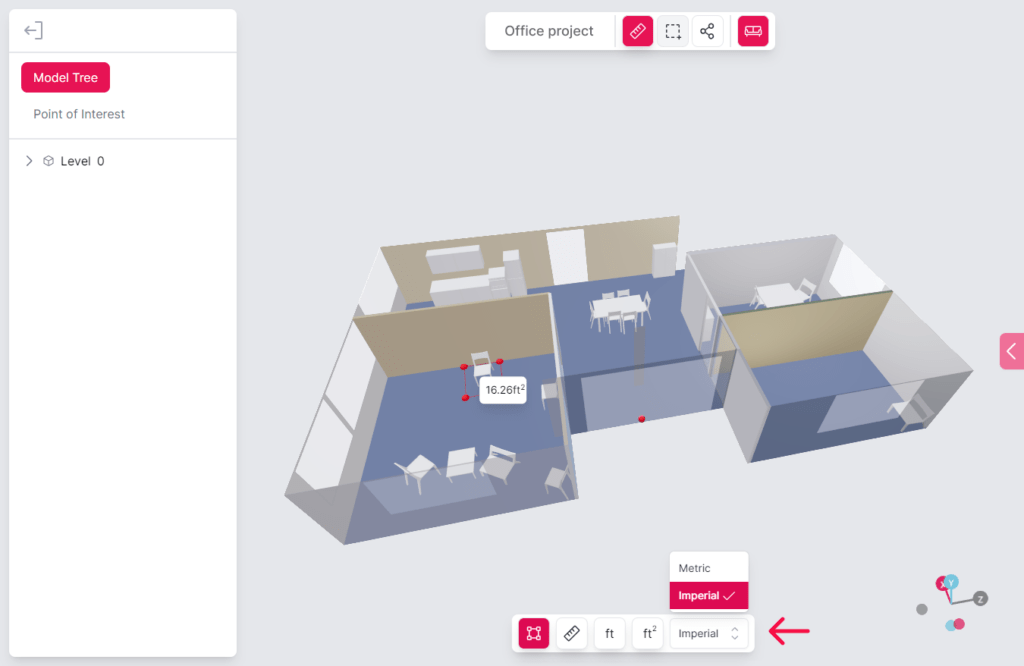
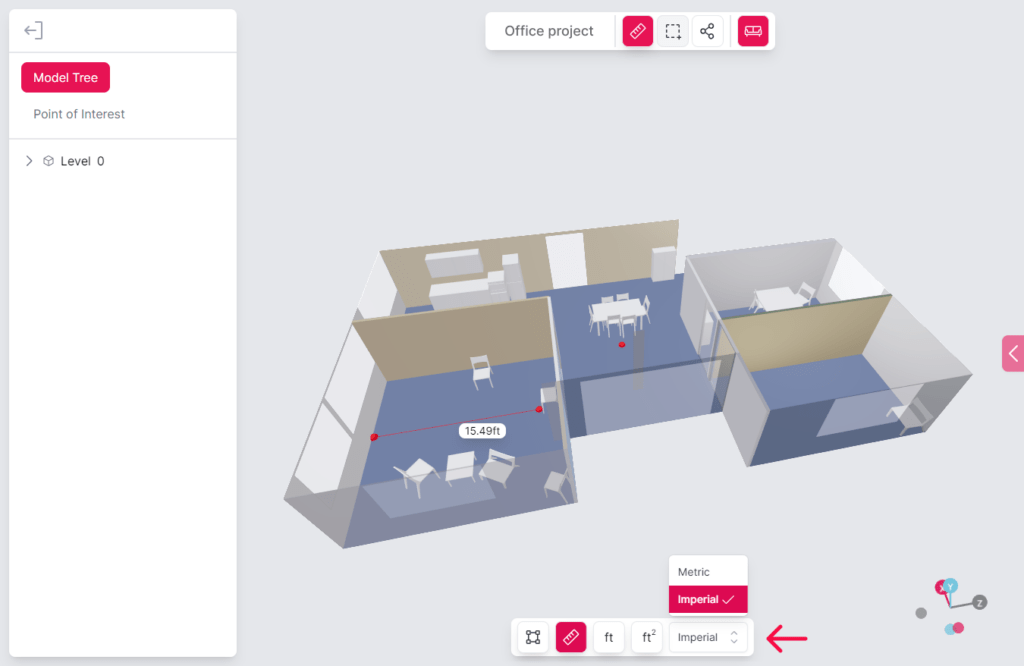
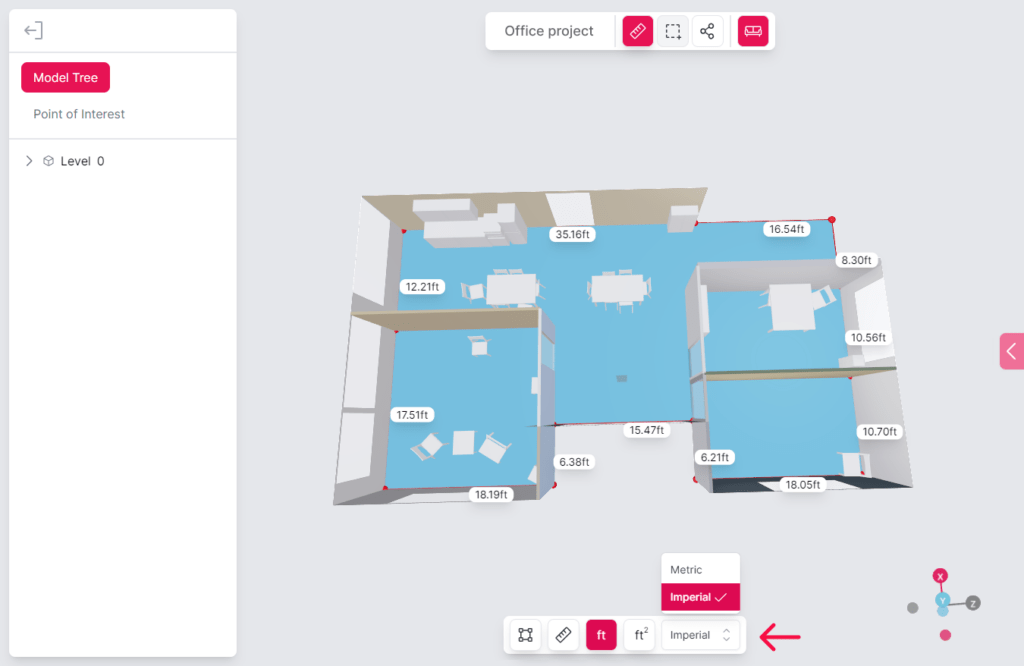
In addition to these four basic measurement functionalities, Metaroom Workspace allows you to obtain an approximate measurement in two units:
- Metric system
- Imperial system
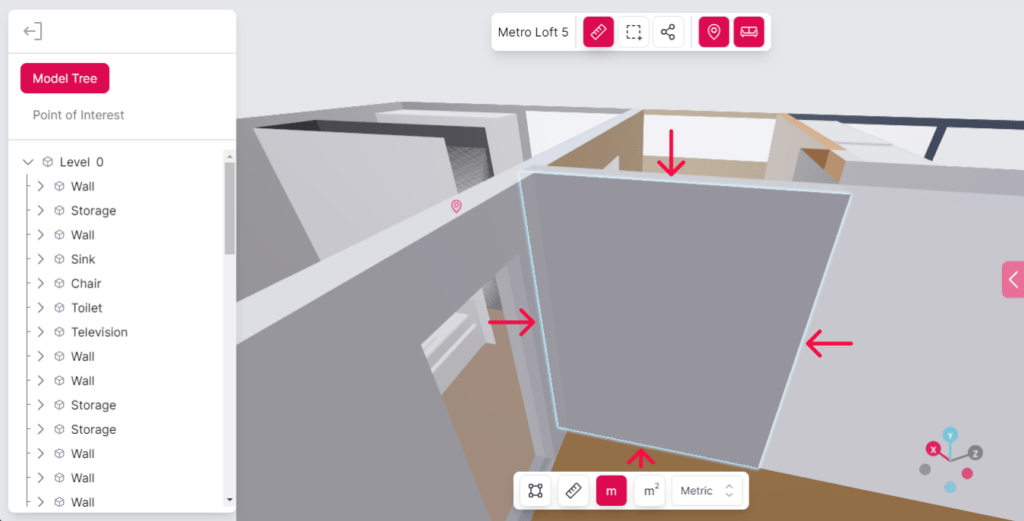
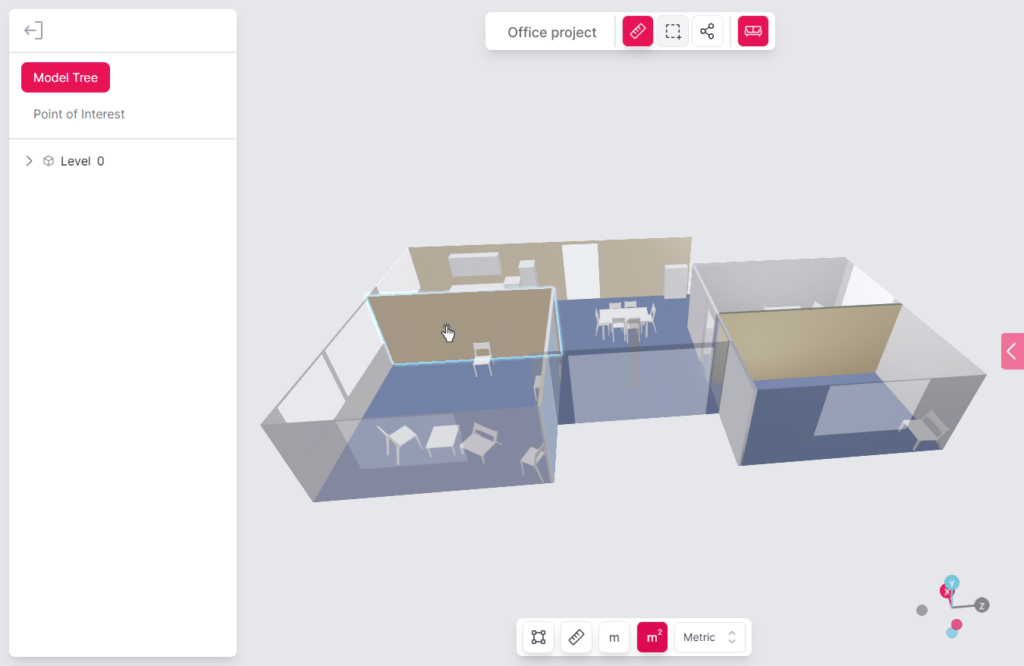
Pay attention to the highlighted outline around the selected room elements! The light blue line represents the precise boundaries of the chosen room’s element, and all measurements rely on it. If the highlighted outline does not correspond to the measurement you want to obtain, use the “Area Measurement” or “Measuring tape” functions to get your desired measurement. Press and hold the “Shift” key to turn off snapping to the existing element boundary (active by default).
How do I measure a specific part of the room?
To measure specific areas of the room, use the “Area Measurement Tool”. Here are the steps that you need to follow to measure manually defined parts of your scanned room:
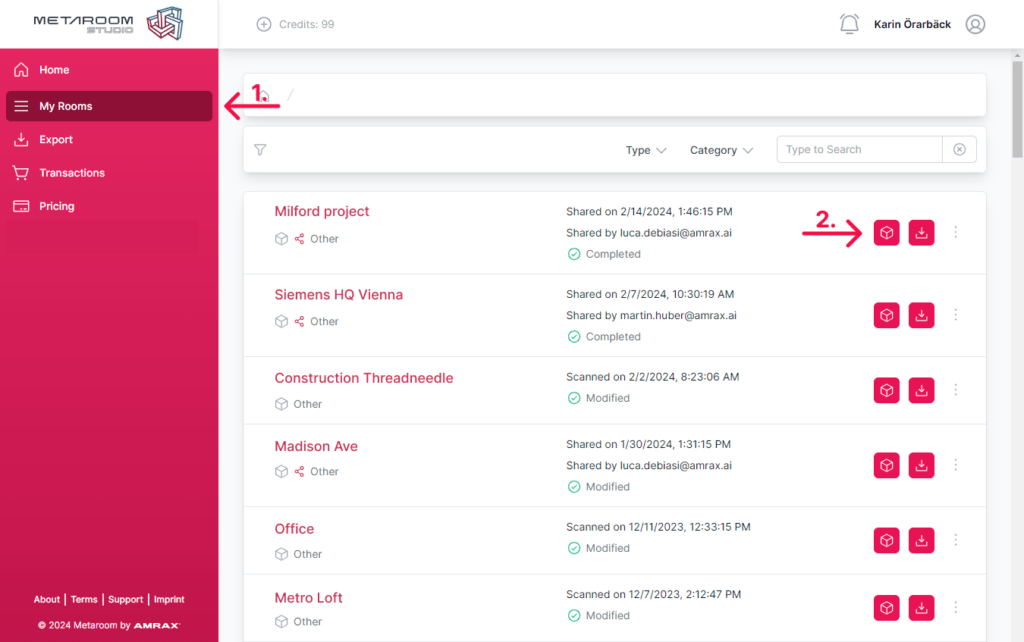
- Navigate to the Metaroom Workspace.
- Open the 3D model of the scanned space from the room list.

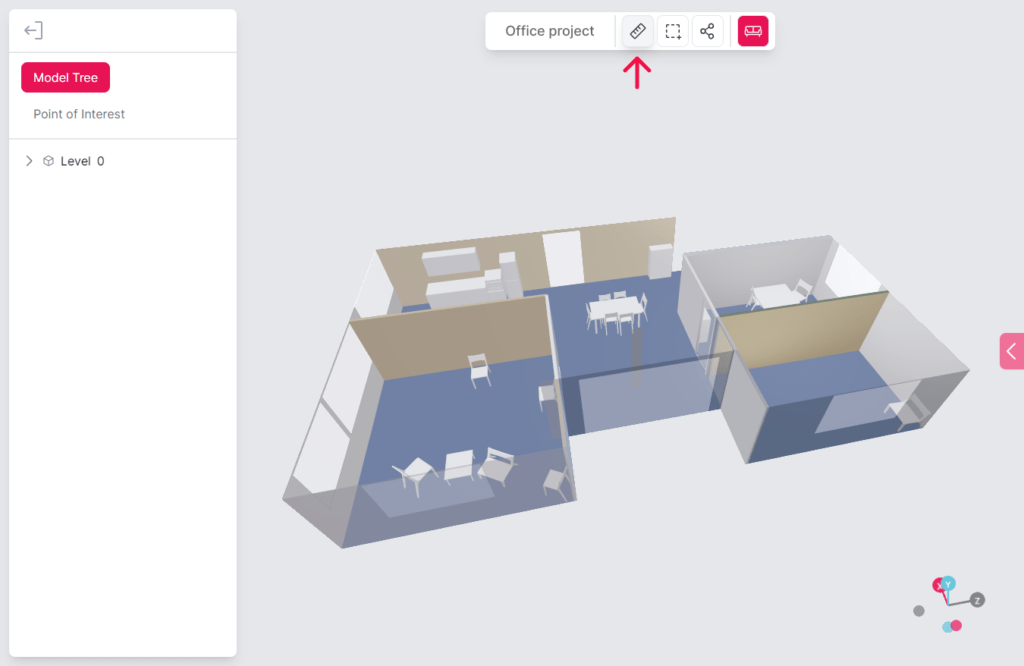
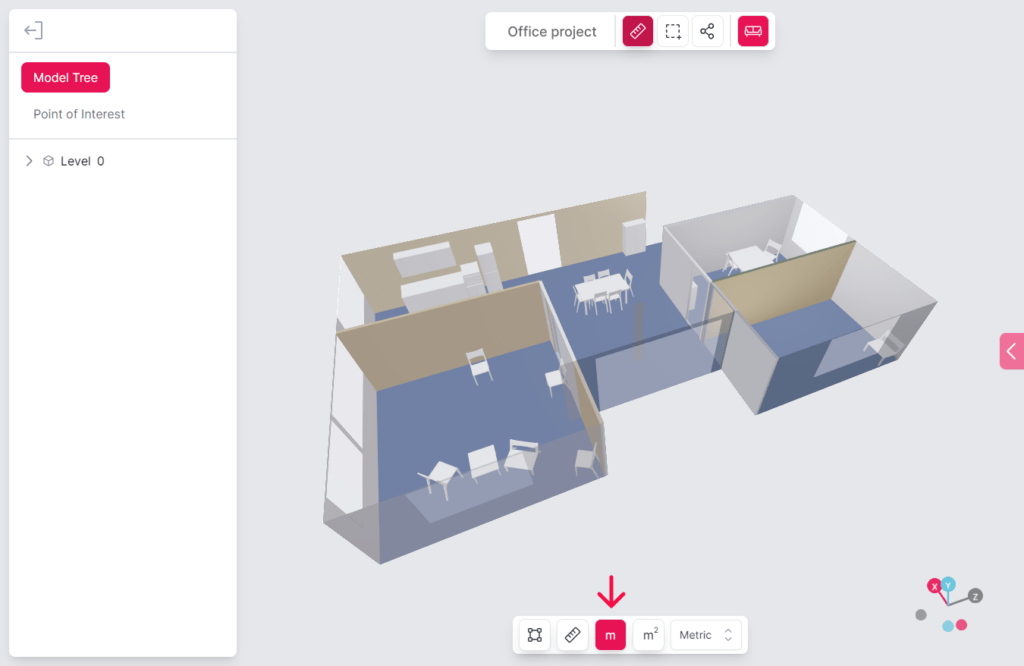
3. Click on the measurement icon at the top of the screen.
4. Choose the “Area Measurement Tool” from the measurement toolbox.

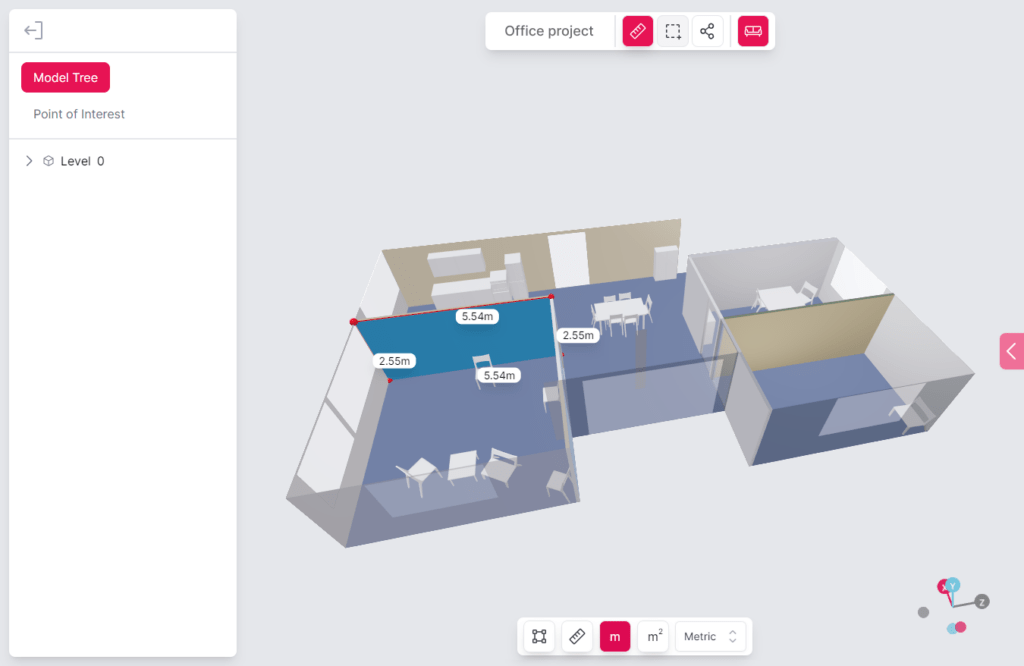
5. Click on the needed area, fixing points as you move.

Pro tip: to freely position the snapping tool, hold down the “Shift” key and click on the desired placement or element boundaries.
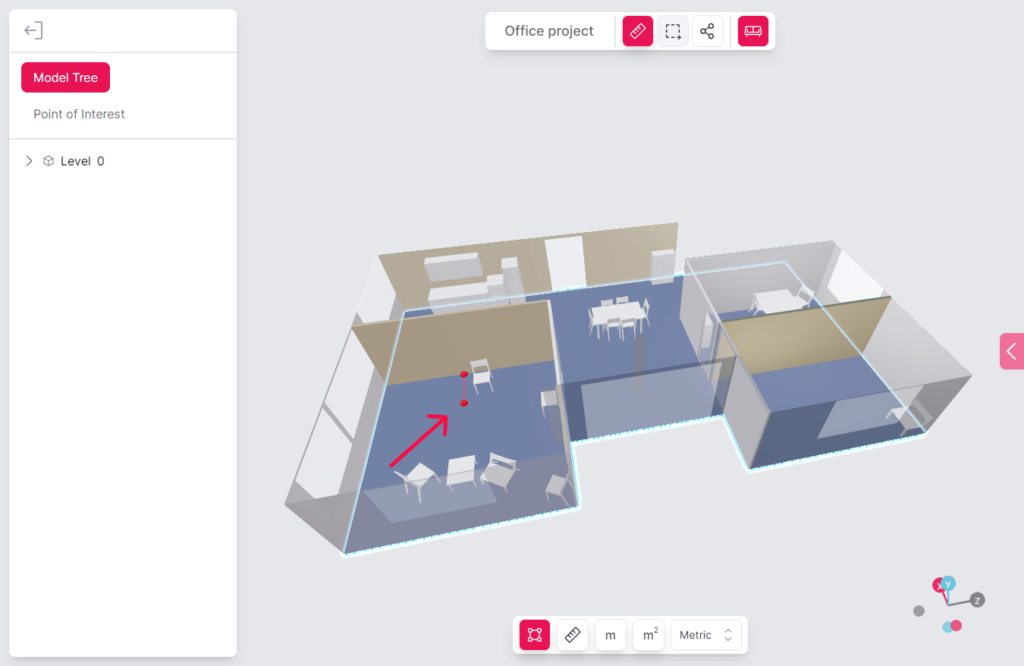
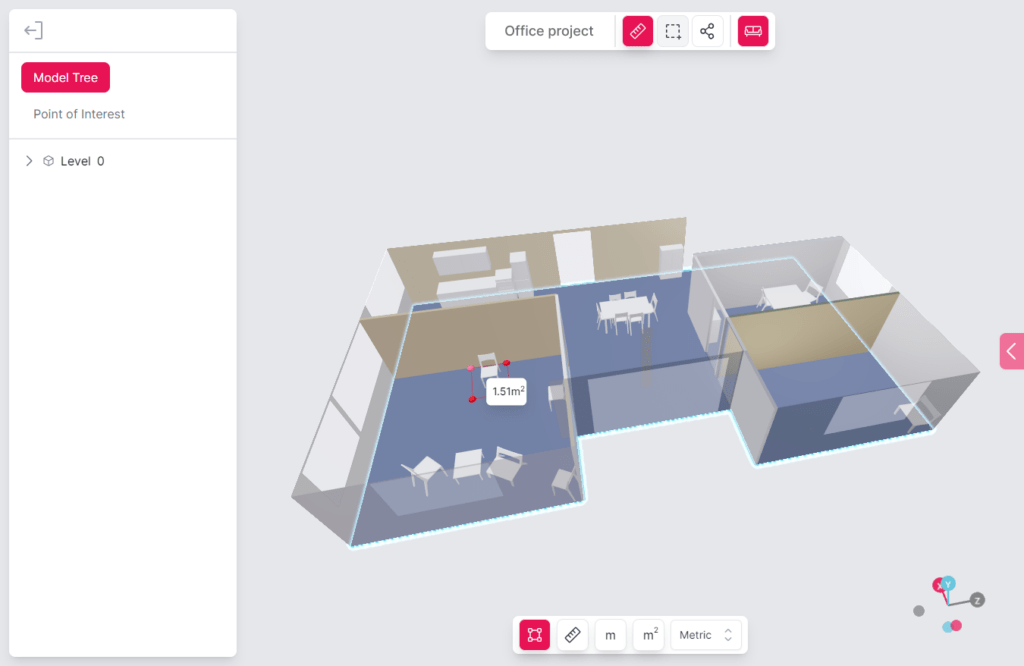
6. Close the area of measurement by clicking on the first point. In other words, you need to close the selected area.

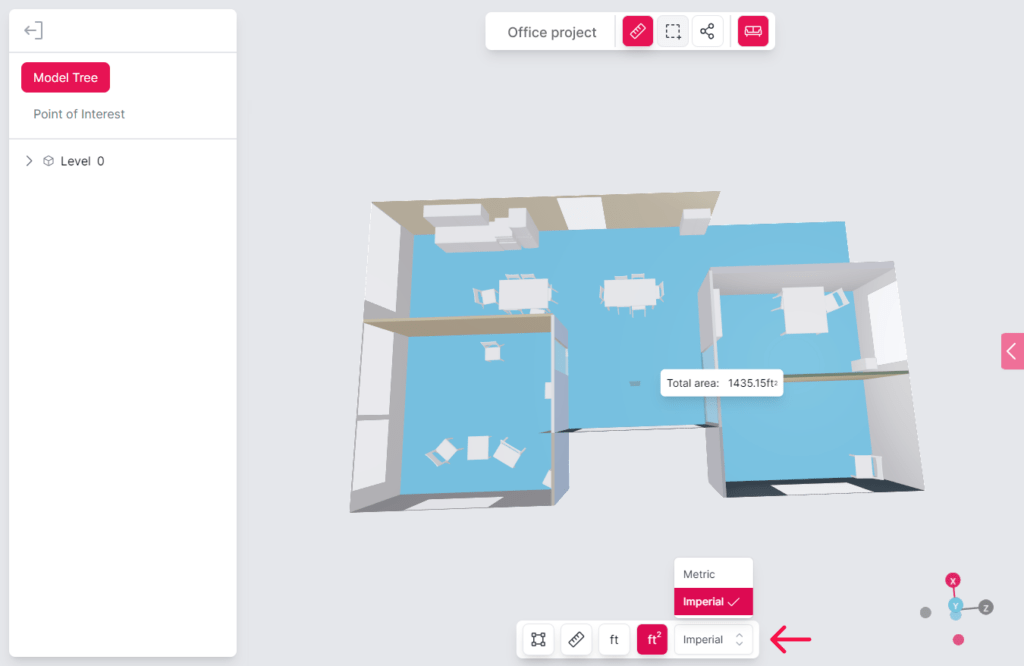
7. The total area measurement will be displayed for the selected area.
8. If needed, switch between units using the dropdown menu in the measurement toolbox.
How do I measure length or distance in the room?
To measure a specific length in the room, use “Measuring Tape”. Here are the steps that you need to follow to measure a particular distance in your scanned room:
- Navigate to the Metaroom Workspace.
- Open the 3D model of the scanned space from the room list.
3. Click on the measurement icon at the top of the screen.
4. Select “Measuring Tape” from the measurement toolbox.

5. Click on the needed area to start the first point of measurement.
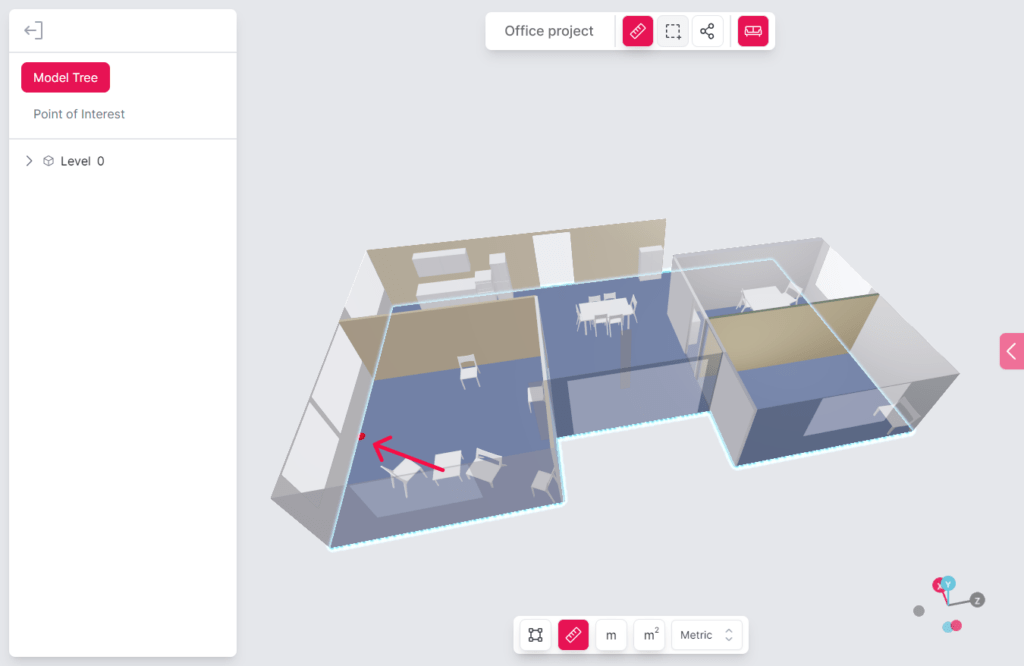
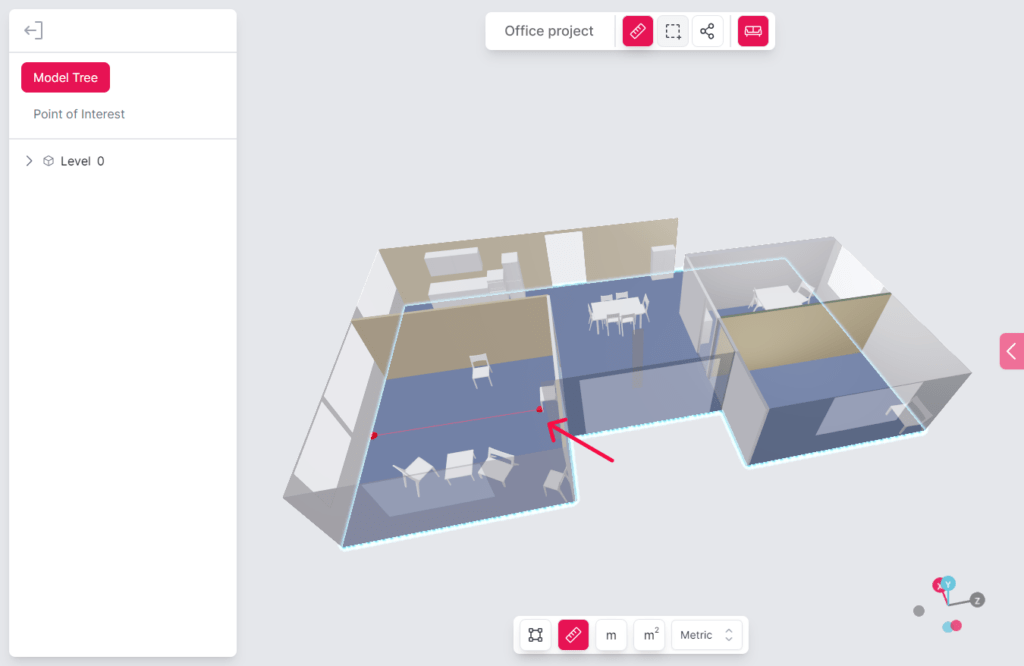
6. Move the mouse to the next position and click to measure the distance.
Pro tip: to freely position the snapping tool, hold down the “Shift” key and click on the desired placement or element boundaries.
7. The length of the selected distance will be displayed.
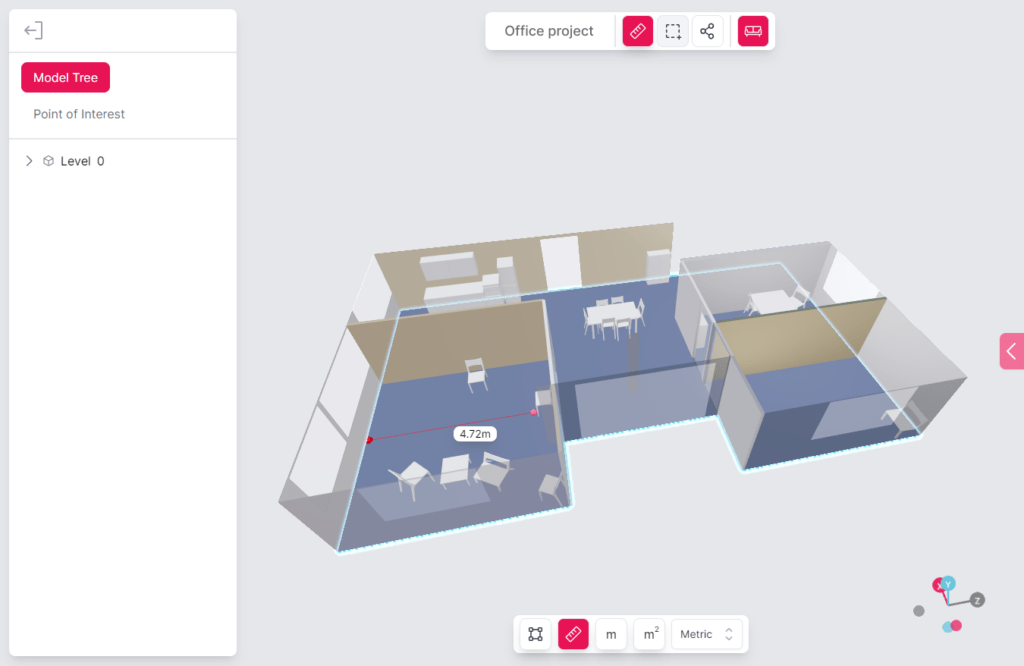
8. If needed, switch between units using the dropdown menu in the measurement toolbox.
How do I measure the room’s elements along the perimeter?
To obtain the perimeter length of the selected room objects, use the “Outside Dimensions” tool. Here are the steps that you need to follow to display measurements of the specific room element:
- Navigate to the Metaroom Workspace.
- Open the 3D model of the scanned space from the room list.
3. Click on the measurement icon at the top of the screen.
4. Choose “Outside Dimensions” from the measurement toolbox.
5. Click on the area you want to measure (e.g., wall or window).
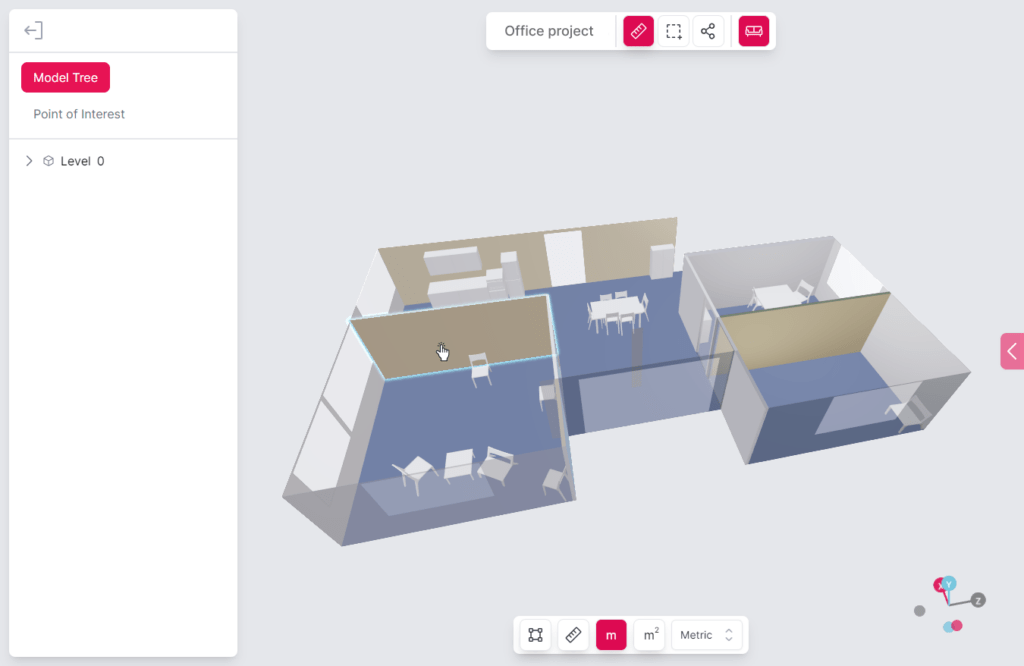
6. A perimeter length will be displayed on the selected element.
7. If needed, switch between units using the dropdown menu in the measurement toolbox.
How do I measure the total area of the room’s elements?
Use the ‘Area‘ tool to see the total area of the selected room’s object. Follow these steps to display total area measurements:
- Navigate to the Metaroom Workspace.
- Open the 3D model of the scanned space from the room list.
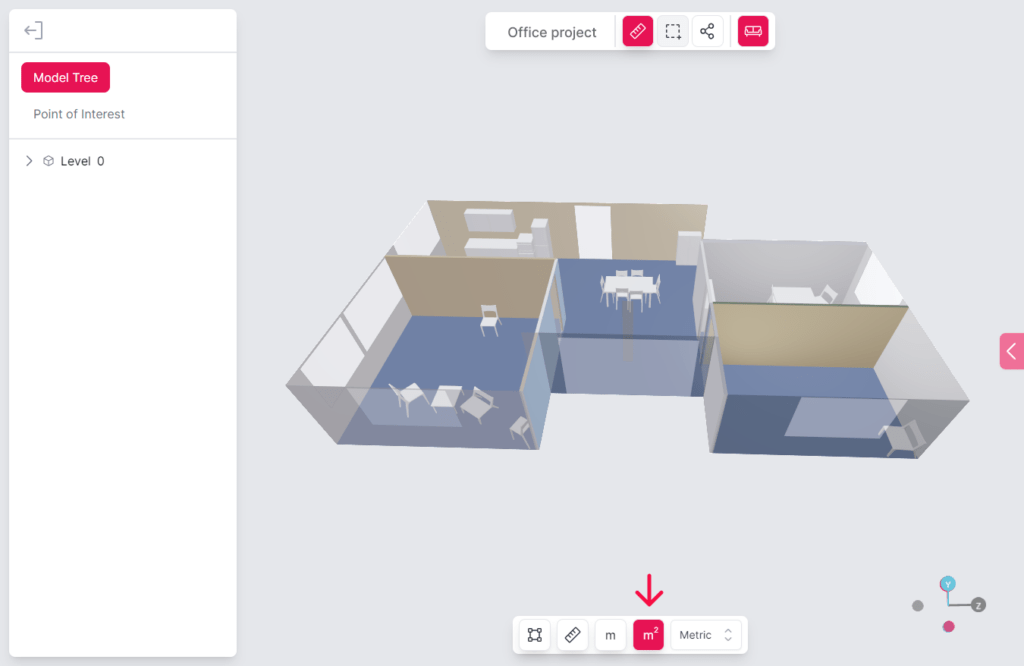
3. Click on the measurement icon at the top of the screen.
4. Select “Area” from the measurement toolbox.
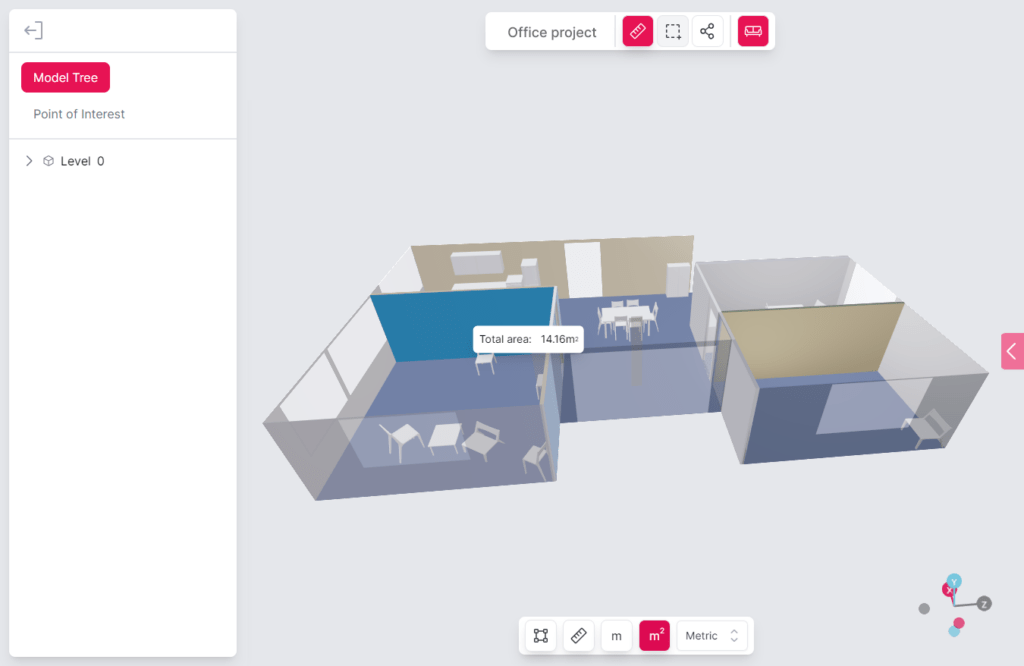
5. Click on the area of interest (e.g., wall or floor).
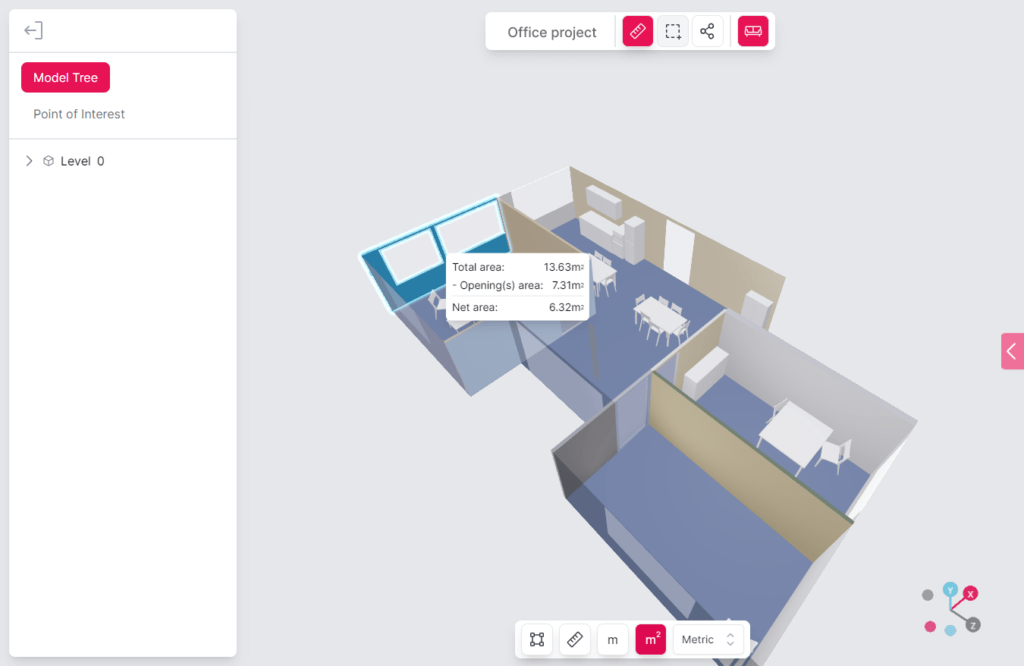
- A total area will be displayed on the selected area. If the selected area has any openings (e.g., window or door), the measurement will be shown as follows:
- “The total area” of the selected part of the room,
- “Opening(s) area” measurement,
- “Net area” = “total area” – “opening(s) area”.
7. If needed, switch between units using the dropdown menu in the measurement toolbox.